
It is a wonderful thing to work in a university or hospital based voice clinic with the latest high-tech equipment at your fingertips. If you’ve had the luxury of tinkering with the best tools of the trade, you’ll know where I’m coming from. But, what about for the rest of the Speech-Language Pathologists out there? Shouldn’t we be able to find data that is just as useful in our smaller, more rural clinics? Maybe even set one up at the LTACH or acute care hospital we work in?
It is entirely possible to obtain a low-cost suite for acoustic analysis to better serve your patients and track progress. It is not enough to say, “Mrs. Smith sounds hoarse. After voice therapy, she sounds great!” You must show markers of progress by using quantitative data. Here’s how to get started:
The Basics:
1) Obtain an audio interface. You can easily find one of these online or in your local music store. I use this one from Yamaha and have found that it works very well. There are other interfaces available too like the Babyfacepro and others that are even smaller than mine. Why do you need this? This is to keep the sound signal stable and consistent across patients. You must account for external noises (like your patient’s cell phone or noises next door to your treatment room), and always make sure your sampling frequency is at least 26kHz.

My recommendation for your audio interface

My recommendation for your headset condenser microphone
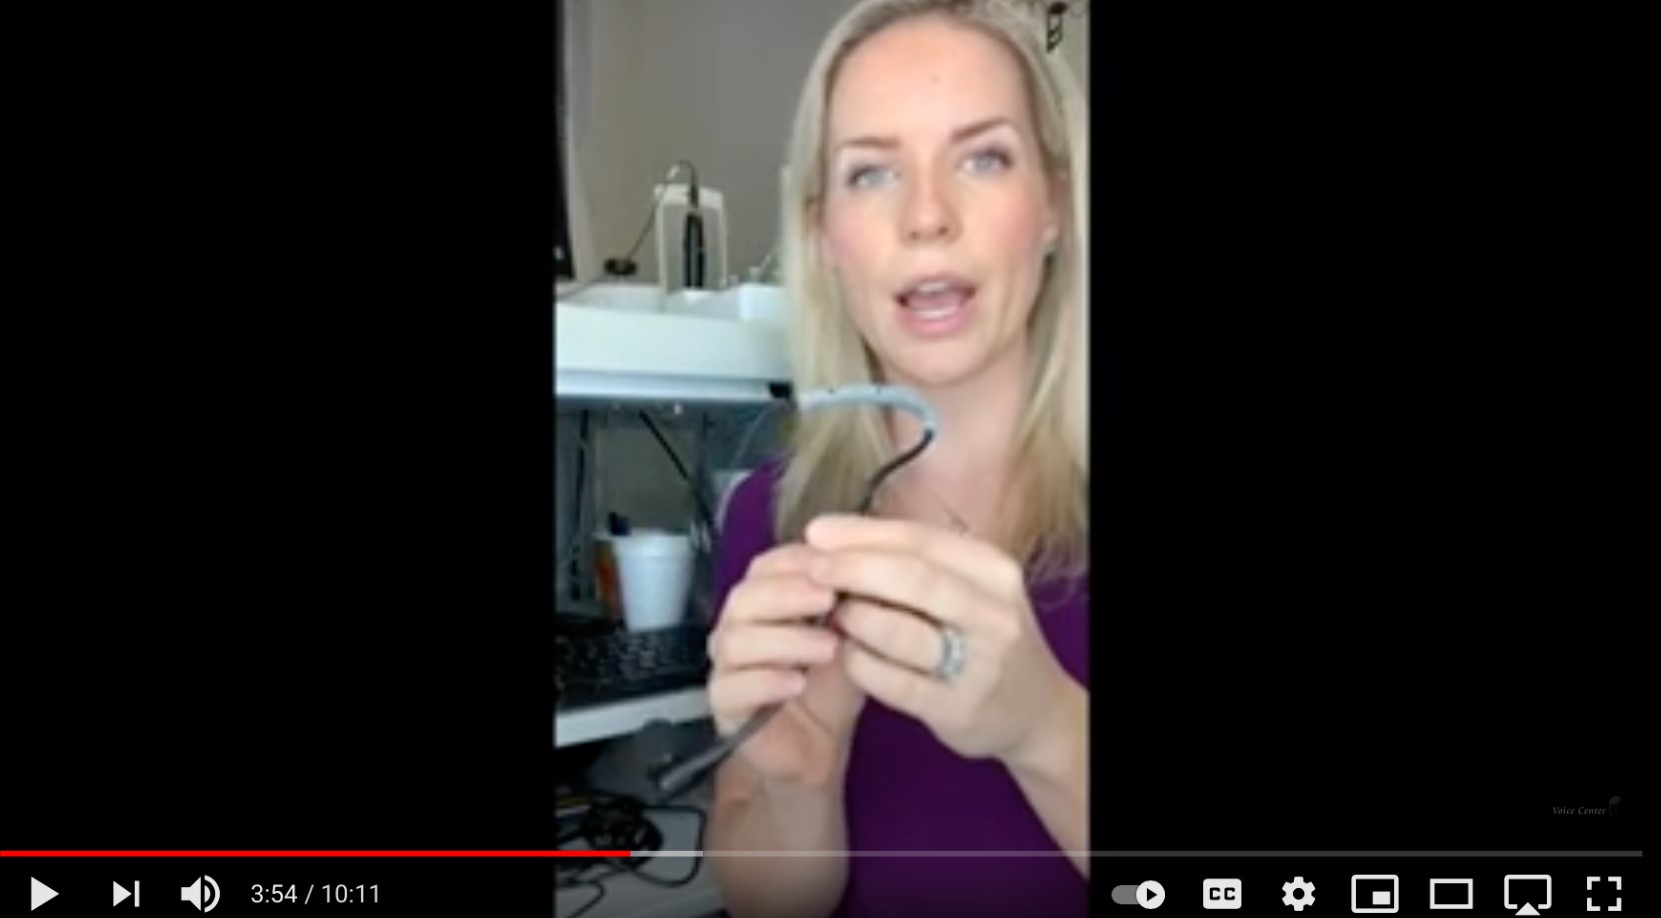
2) It’s not only important to use an audio interface, but to use a headset condenser microphone as well. A headset allows you to get close to the person’s mouth and the condenser helps filter out sounds that are not human voice. Make sure the range of sound is 20-8,000Hz.I have had great luck with this head-mounted XLR from Shure and find that if I keep the boom about 1 inch away from the patient’s mouth, the signal is nice. Best case scenario, your room is soundproofed too. Best idea? Check the specs on the mic you want to purchase.

3) So what do you do now? If the name PRAAT gives you the jitters…(haha, see what I did there?) fear not! Youri Maryn has spent countless hours creating a user-friendly interface to learn about how to apply his research to real-world voice therapy. First, you need to download the free…no I did not stutter… FREE program Praat here. The best thing about PRAAT is that the developers, Paul Boersma and David Weenink, made it easily usable with either a Mac or PC, so you truly have no excuse not to try it.
See This free Videos here:
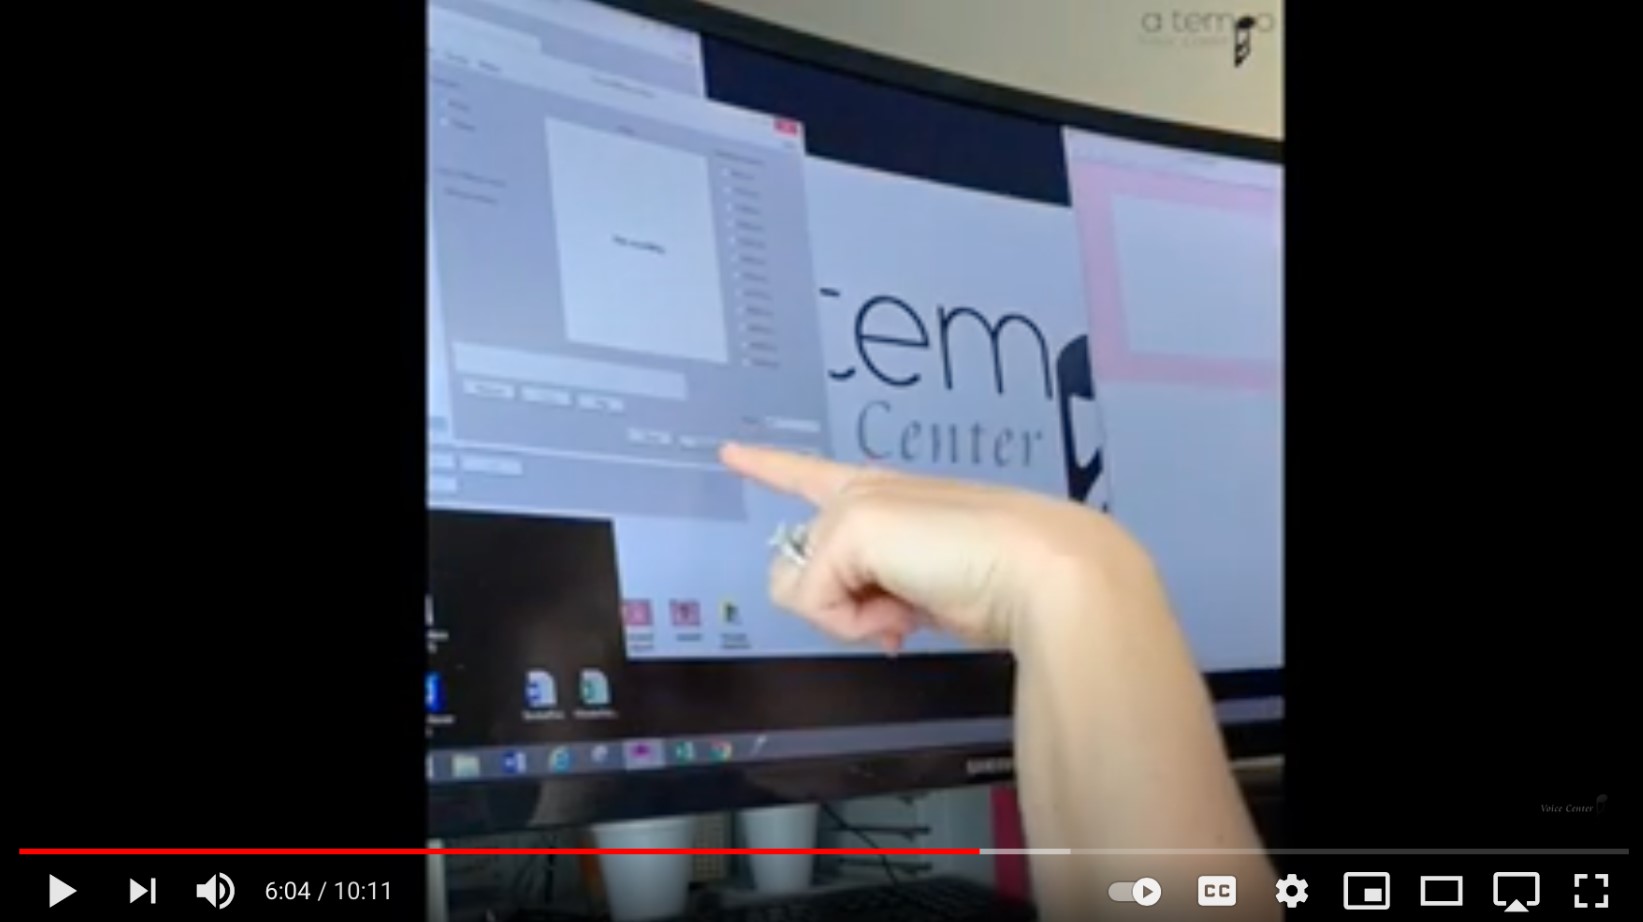
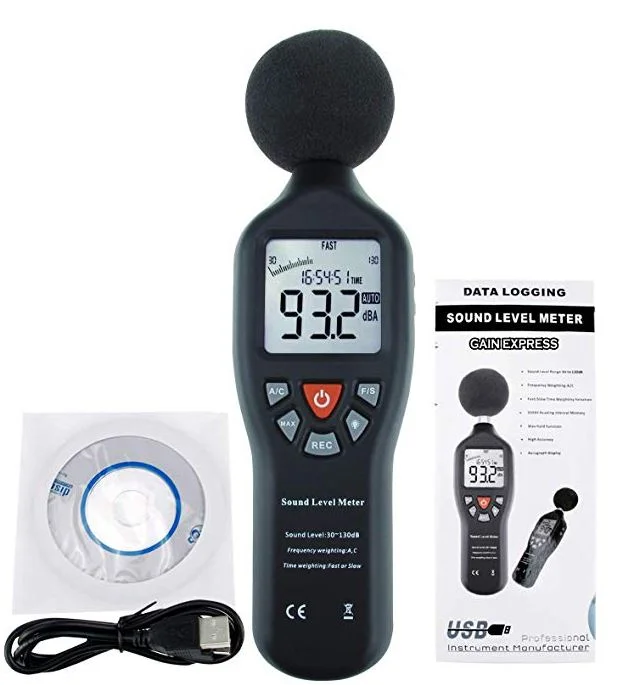
4) So how do you use PRAAT and what kind of acoustic measures should you be obtaining? You can read my easy-to-digest blog about Acoustic Voice Quality Index, or the cited research articles it contains. Or, you can simply go to Youri’s website Phonanium and download the entire package with tutorial videos. You get unlimited access to the videos so you can implement them to your clinic at your own pace. These videos are quite simple, and go step-by-step with live screen shots of how to utilize each acoustic measure you’ll be obtaining. Also, don’t forget to calibrate your system. Youri has a great tutorial on how to easily do this with a sound level meter that has an a/c weighted option.
What do I gather?
What are the things you’ll be able to use with this clinical voice lab? Cepstrum, AVQI, vocal intensity, vocal range, fundamental frequency, DSI and more. Again, don’t freak out if you have no idea what those terms mean. Each video goes through the “what” and the “why” of each measure. AVQI and Cepstral Peak Prominence are just two of the acoustic measures I take, but I find they tell me the most about patient improvement. I think you’ll find, however, that each tells you different things about your patient’s voice signal. AVQI also gives such a nice visual representation for the patient to see where they began and where they have progressed to. Phonanium’s clinical voice lab also contains tools to educate the quality of your recordings! (which is so very needed.) It also helps you calibrate your vocal intensity measures.
TIPS: Make sure you have a long enough connector from your microphone to your audiogram. Your patient will always “forget something” in his/her purse, bag, or on the table and subsequently “clothes-line” themselves trying to get up during these recordings! Also, remember to keep your main gain low, or your patient will hear his/her own sound signal coming through your speakers during the recording.
I hope this helps de-mystify acoustics, and can help some of you get started obtaining these measures to better justify medical necessity for voice rehabilitation for your patients.
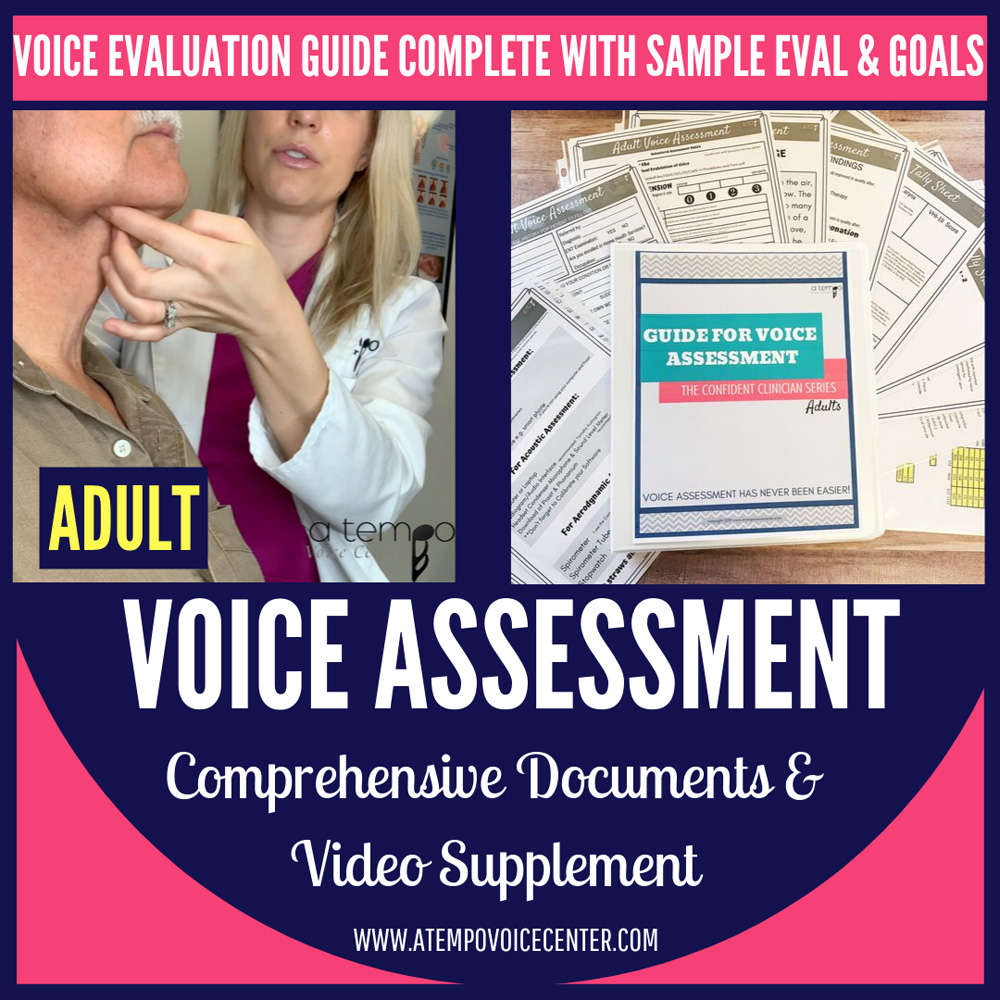
AND NOW…..Introducing…..A better way to collect your data….

-ATVC
Kristie Knickerbocker, MS, CCC-SLP, is a speech-language pathologist and singing voice specialist in Fort Worth, Texas. She rehabilitates voice and swallowing at her private practice, a tempo Voice Center, and lectures on vocal health to area choirs and students. She also owns and runs a mobile videostroboscopy and FEES company, Voice Diagnostix. She is an affiliate of ASHA Special Interest Group 3, Voice and Voice Disorders, and a member of the National Association of Teachers of Singing and the Pan-American Vocology Association. Knickerbocker blogs on her website at www.atempovoicecenter.com. She has developed a line of kid and adult-friendly therapy materials specifically for voice on TPT or her website. Follow her on Pinterest, on Twitter and Instagram or like her on Facebook.